PopSockets are great collapsible grip accessories which you can stick at the back of of mobile phones and tablets. They are small, handy and can be used as a phone grip, a stand, and to wrap headphones.
You may want to reuse a pop socket (different process) or transfer it over to another iPhone or Android, and thats when removal comes into question.
The adhesive sticks very well on the phone and removing a popsocket can get tricky if you don’t want to leave a ring of sticky adhesive. (We have you covered)
See the 14 Coolest Pop Socket with Colors, Designs, and More
In this article, we will discuss a step-by-step guide to remove a PopSocket, with some expert tips on how to do so while keeping the adhesive component sticky.
These methods are simple to execute and work flawlessly to remove PopSockets, while not damaging the phone or phone case.
What do you need to before getting started?
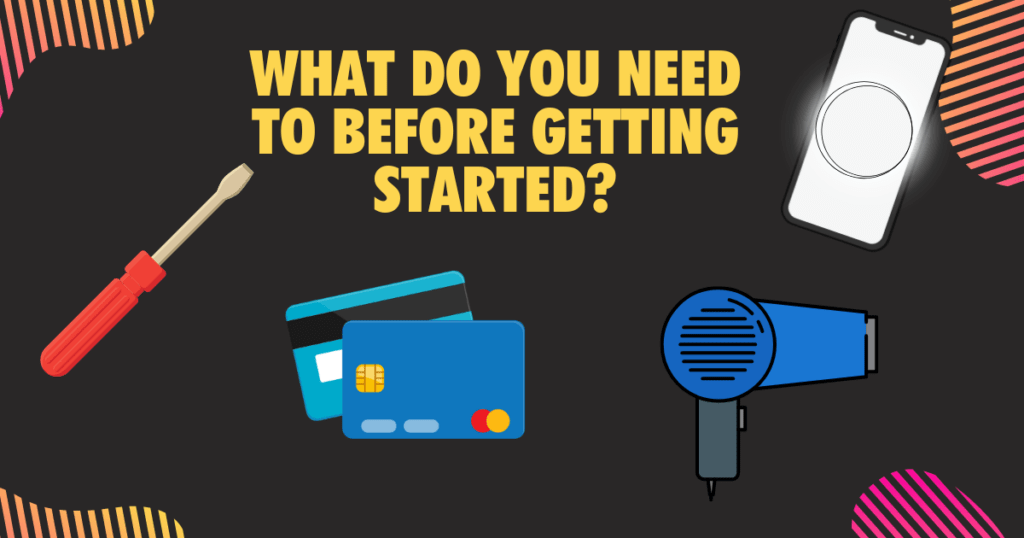
Removing PopSockets from your devices is simple with the right tools at your disposal. Now, you don’t need highly complicated tools to get started, but here’s a list of some tools you need which you might already have lying around the house.
Any of following will work:
- Dental floss
- Hair dryer
- Duct tape
- Alcohol
- Baking Soda
- Nail Polish remover
- An ID or business card
Related: Where to put a Popsocket on your Phone [Best Placements]
How to remove a PopSocket: Step-by-Step
PopSockets use a special material which sticks to your devices leaving no residue or damaging the surface, ensuring a powerful. stable, reliable grip. The issue with this is that it’s difficult to take off properly without ruining the phone.
Pro tip:
Hence, follow the steps below to remove your PopSocket seamlessly:
Step 1. Flatten the top of the PopSocket
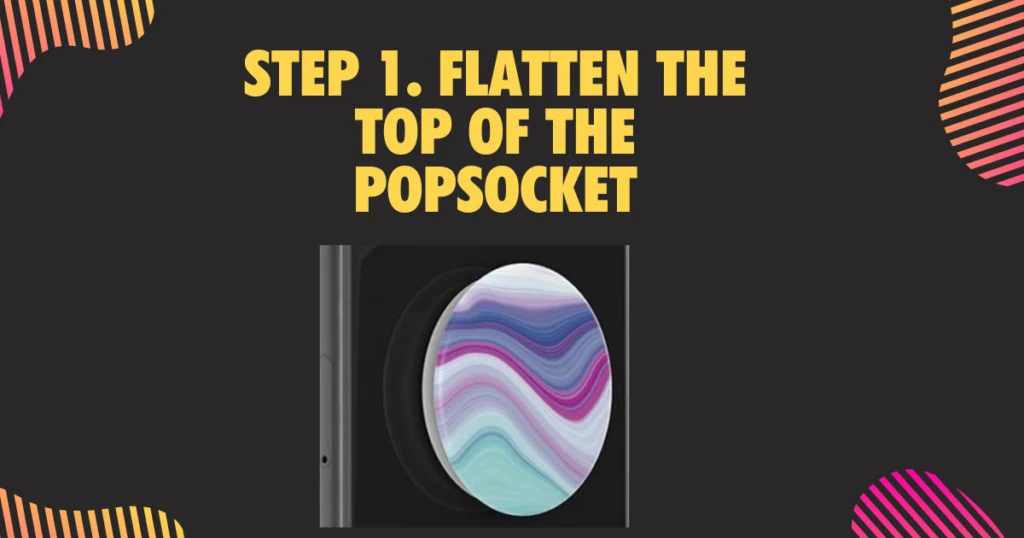
Depending on the type of PopSocket you want to remove, carefully push the top collapsable component down until it is flat against the device.
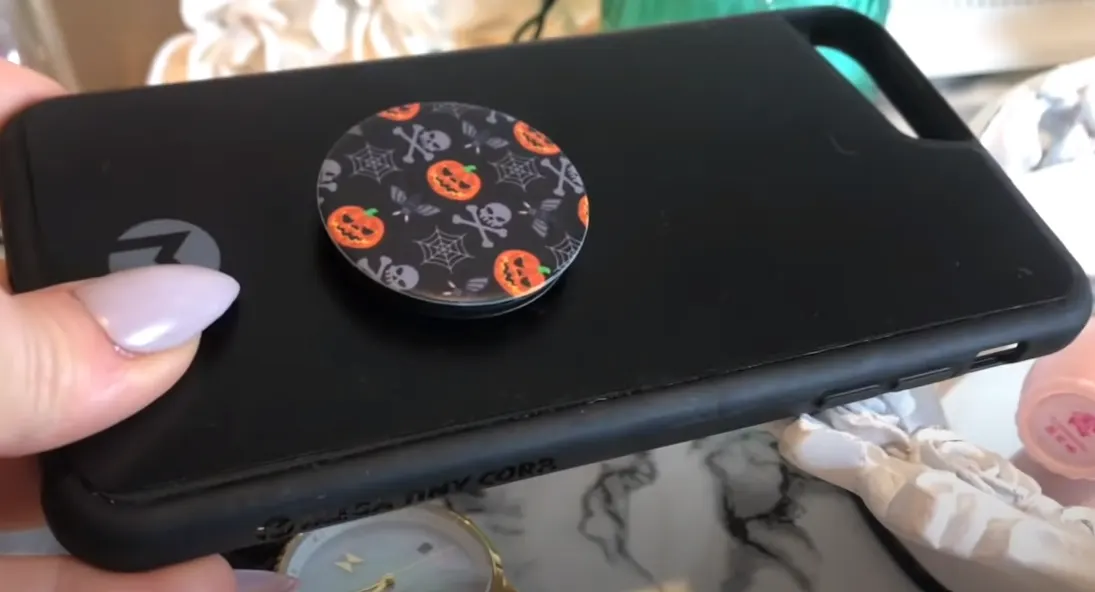
This allows for an easier center of gravity and a more smooth removal that will help to not damage the adhesive bond as it lifts off the device.
Related: See the best Pop Socket Alternatives
But every-so-often, the button falls off. In such a case, you can easily reattach it using the connector tabs on the base.
Step 2. Place and slide your ID or Business card under the PopSocket
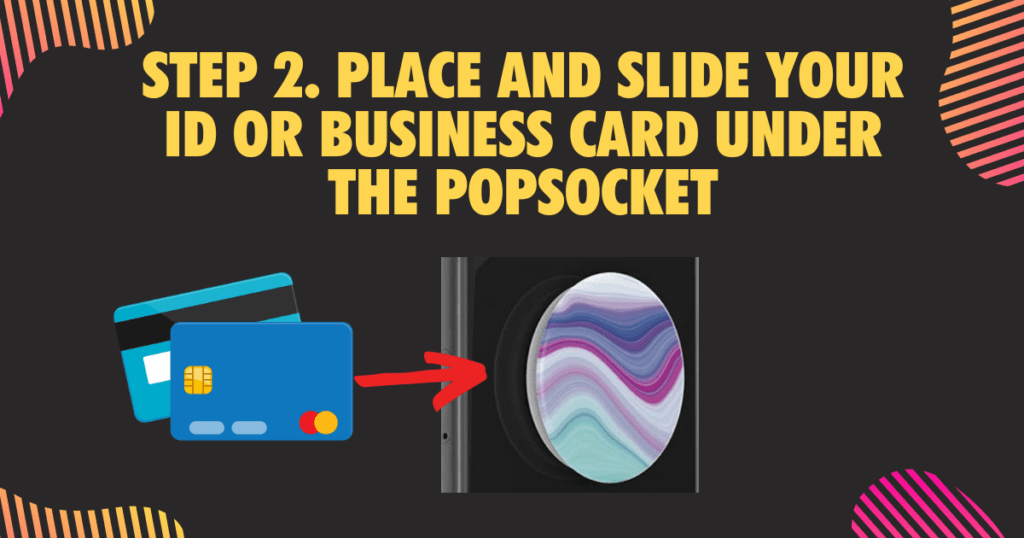
Place your ID or Business card against the sides of the PopSocket base. You can also use your nails for this step. Now, gently slide the card underneath the base, evenly detaching it from your device.
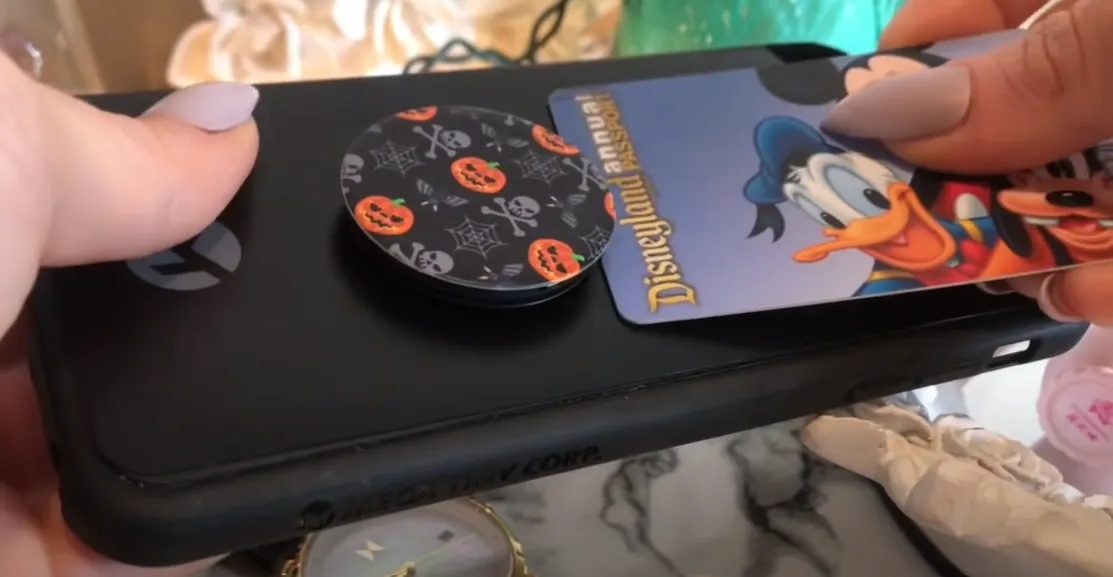
If you wish to reuse the PopSocket, handle the expandable button gently as you do this.
Step 3. Detach the PopSocket from your device
After getting a good grip, most will quickly pull the PopSocket from the device, do not do this – it also damages the adhesive gel, which is not ideal if you plan to reuse the PopSocket and minimize a ring of sticky glue on your phone case.
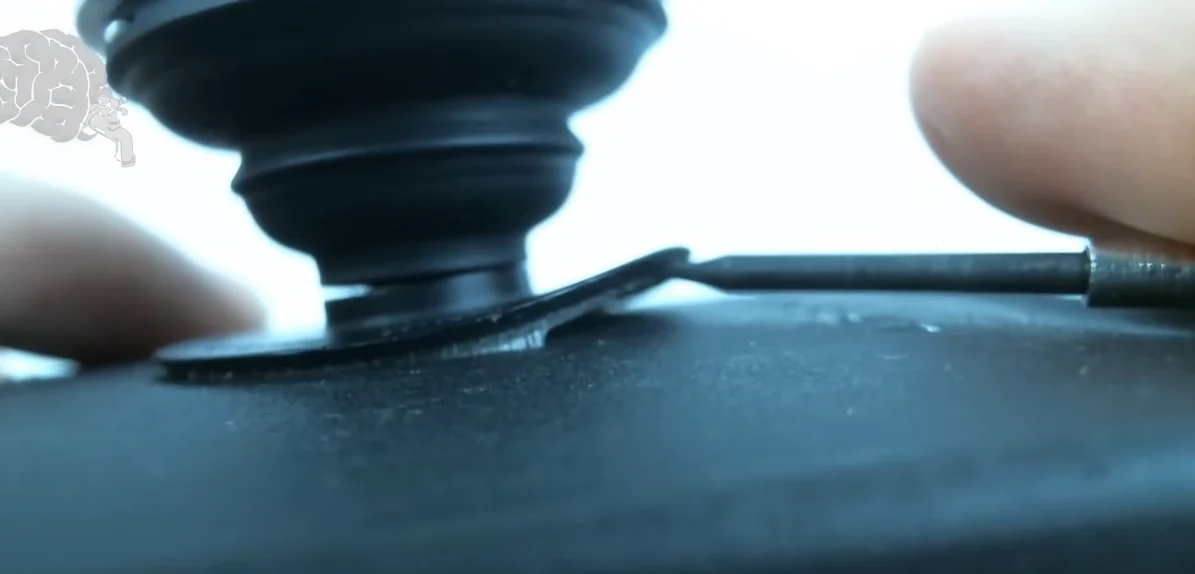
Carefully pull the pop socket and slide it towards the other side to avoid this.
Now, there are some tricky situations you might face while pulling the PopSocket. This’s where you can use the tools you’ve collected from around the house.
- Hair Dryer: If the PopSocket adhesive is too firm and difficult to remove, you can use the hair dryer to loosen it. Turn on the hair dryer and, for 30 seconds (or even less), move it back and forth over the adhesive to melt it. But if the adhesive is still strong, repeat the process a few times. Another thing you must remember is use the hairdryer on a low-heat setting and keep it in constant motion because excessive heat exposure could potentially damage the device (though, rare).
- Dental floss: A dental floss comes handy while removing a PopSocket with strong adhesive. You can gently slide the dental floss under the adhesive gel, moving it down slowly. This helps break the strong adhesive bond, allowing easy removal of the PopSocket. A great trick is to apply force slowly while moving the dental floss, else you might end up damaging your device or the PopSocket.
- ID or Business card: ID or business card are usually thin, and hence easily fit between the device and the adhesive. Not only can you use it to peel off the adhesive from your device, but also remove any debris or lint that may have accumulated on the adhesive. But apply gentle pressure to avoid damaging the phone or PopSocket.
- Baking soda: Baking soda helps clean the PopSocket, and the residue left on your device’s surface. Start by sprinkling baking soda over the PopSocket, covering all sides and any residue on the phone. Remove the excess baking soda using a toothbrush. Finally, wipe the PopSocket and the device’s surface with a damp cloth to remove any remaining baking soda and residue.
- Alcohol: By applying Alcohol on the adhesive, you can break its strong bond. Start by spraying the alcohol on the PopSocket and phone surface. For areas which are difficult to reach, you can soak a cotton piece with alcohol and apply it. Now, wipe the surface with a clean cloth. One thing you must remember is thoroughly wash your hands after apply the alcohol as it can be harsh on the skin.
- Nail polish remover: Nail polish remover also works great to dissolve the adhesive residue left by a PopSocket. Simply pour some over the adhesive surface and wipe it off with a clean cloth. But wash your hands thoroughly to avoid any potential dermatitis.
Step 4. Use the PopSocket on another device
You’re going to want to know where to put your popsocket on the new phone or phone case (this is important).
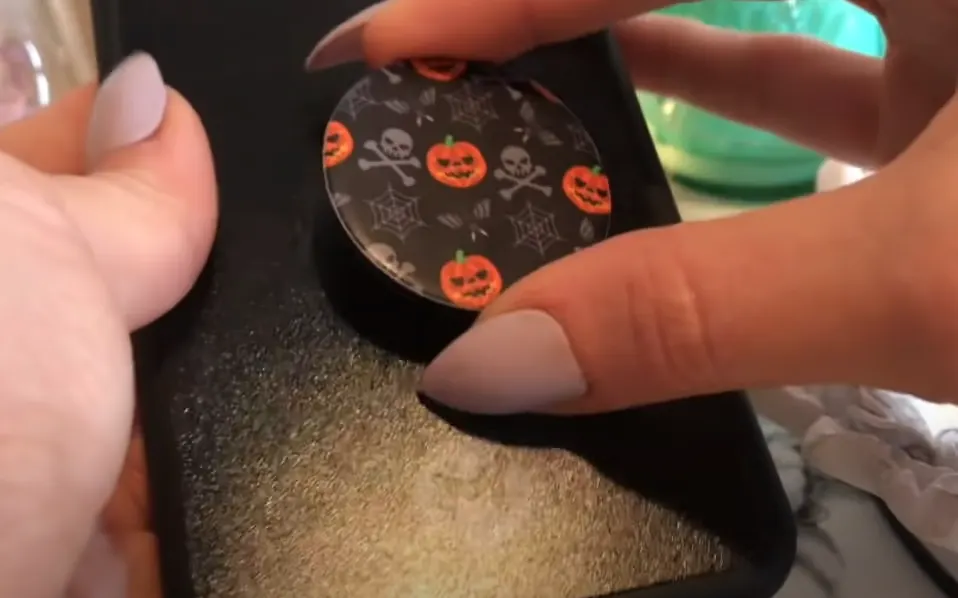
After successfully removing the PopSocket from your device, you can now attach it on another device. But before reattaching it, run it under cold water for three seconds, which increases its stickiness.
Now, place the PopSocket to air dry for 10 to 15 minutes, on a paper towel with the sticky side facing up to allow for maximum air exposure.
You can also use a paper towel to manually dry the base.
Tip: The adhesive gel can dry quickly, hence move the PopSocket within a 15 minutes of removing.
Alternate ways to take a PopSocket off
Sometimes, the usual methods just don’t cut it, and you need to get a bit creative when removing your PopSocket. For those moments, here are a couple of unconventional yet effective techniques to consider.
Warmth can be a game-changer. Gently warming the back of your device with a warm cloth can help soften the adhesive, making the PopSocket easier to peel off. Just ensure the cloth isn’t too hot to avoid any potential damage.
On the other hand, if you’re in a pinch and without tools, consider using the edge of a plastic spatula or even a guitar pick. Their thin edges can slide under the PopSocket, providing the leverage needed to lift it off without causing any harm.
Remember, no matter which method you choose, always prioritize the safety of your device and the integrity of the PopSocket.
What are PopSockets?
PopSockets are small, collapsible grips that can be attached to the back of a smartphone or tablet, providing a comfortable and secure grip while using the device.
They help to hold a device, preventing it from slipping from your hands. You can also use PopSockets as a stand, for hands-free viewing and taking pictures.They come in many designs, and you can personalize them to your liking.
Not only are they portable, easy to attach and remove, but also provide a better grip for using a device, making it less likely to drop and break.
Why would you want to remove a PopSocket?
You can remove them from your current device and apply it on another. In most cases you’d only swap out the top, unless you’re swapping to another phone grip product like the MagOne or syncwire
Here are some reasons removing PopSockets makes sense:
- Changing Design: PopSockets are highly customizable, and hence you might want to switch to a different design or color to match a new phone case or outfit.
- Damaged PopSocket: The adhesive on the back of the PopSocket may wear out or become damaged after some time, making it difficult to keep attached to the device. In this case, removing and replacing it with a new one can make sense.
- Switching Devices: If you switch to a different phone model or phone case, you might want to replace the old PopSocket or simply transfer it over via attaching the same on your new device.
Overall, you might want to remove your PopSocket for many reasons. But it can get tricky if you don’t follow the correct steps.
Simple tips to maintain and use your PopSockets
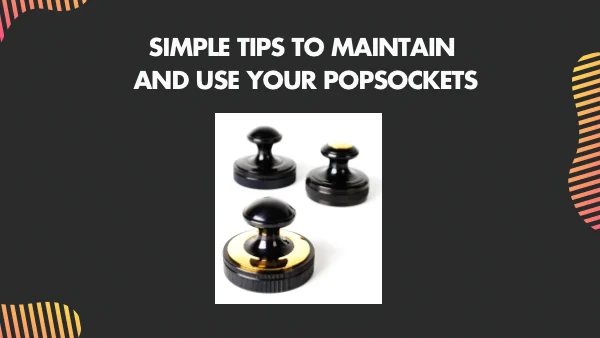
By using proper methods to maintain your PopSockets, you can remove and reuse them many times without losing out on quality.
Let’s quickly go through some simple tips to maintain and use your PopSocket.
Pick a PopSocket Compatible with your Phone’s case
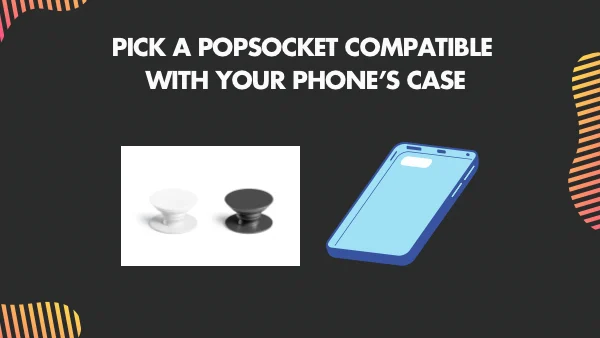
Phone cases protect your device against the daily rough use and accidental drops. But every case is unique, owing to its constituent material. In simple words, some phone cases are thin, while others are heavy-duty with rough finish.
If your case is thin, the PopSocket may stretch and weaken it, causing it to deteriorate quickly.If you have a heavy-duty case, the PopSocket can add extra weight to your device. Hence, while picking a PopSocket for your device, consider your phone’s case.
Also see: Pop Socket vs Ring Holders: pros & cons comparison (iPhone & Android)
Take care of the Expandable Button
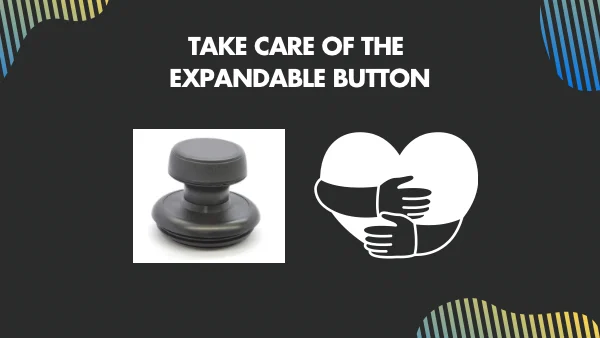
The Expandable Button of a PopSocket lets you adjust the grip of the device by expanding or collapsing the PopSocket.
You can collapse the PopSocket flat against the device, making it more convenient to carry.
You can also pull out the expandable button to use it as a stand for your device.
Hence, when expanding and collapsing your PopSocket, be gentle, else you’ll detach from the base with excessive force.
Don’t remove your PopSocket many times
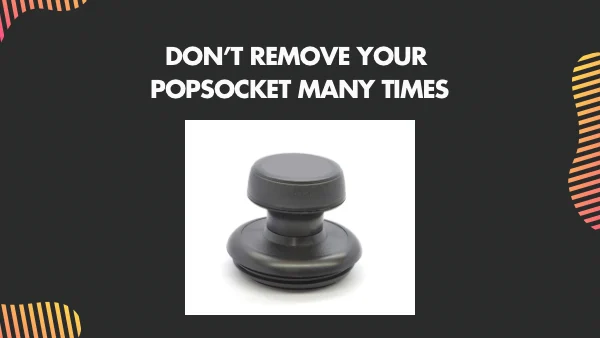
The great thing about using a PopSocket is you can remove and reuse it many times.
But if you remove it consistently, the adhesive gets weak, reducing its ability to stick securely to your device.
You’ll also find dirt buildup on the adhesive and wearing down of the expandable button, making it less reliable.
While you can always use warm water to clean off the dirt, leave it to air-dry to increase the stickiness of the adhesive, you must minimize the number of times you remove the PopSocket from your device.
How to remove the Adhesive Residue properly?
When you remove the PopSocket from your device, you might end up with some adhesive residue on your device and your hands.
This residue can be tough to remove and if not removed properly can damage your device’s surface. Let’s discuss how you can remove it from your device and your hands.
How to remove the Adhesive Residue properly from your Phone or Device
The adhesive residue left after removing the PopSocket from your device, can attract dust, lint, and other debris, making it difficult to clean.
- Use warm water: After removing the PopSocket, take a clean lint-free cloth and soak it in warm water. Now, gently wipe the surface with the adhesive surface.
- Use alcohol: You can also soak a cotton piece with Alcohol and wipe the residue surface.
- Apply adhesive remover: If the residue is too firm, simply use a high-quality adhesive remover.
- Use a plastic card or a piece of tape: Gently scrape the residue off with a plastic card or a piece of tape.
This will work the same as long as the surface is similar (even if its a flipphone)
Related: 7 Best Phone Ring Holders for iPhone & Android (Wireless Charging)
How to remove the Adhesive Residue properly from your hands?
It’s natural to end up with some adhesive residue on your hands. But you can remove it easily to it. Here are a few things you can do:
- Use soap and warm water: Wash your hands with soap and warm water. This will help to remove the oil and any residual adhesive.
- Use a nail polish remover or adhesive remover: If soap and warm water don’t work, use a nail polish remover or a commercial adhesive remover. But carefully use these products, as they can be harsh to your skin. Some other methods include:
- Use rubbing alcohol: Soak a cotton piece or tissue with alcohol and rub it onto the affected areas. The alcohol will help to dissolve the adhesive.
- Use a pumice stone: For rough or calloused areas of your skin, use a pumice stone to gently scrape the adhesive away.
- Use a pumice stone: Massage the adhesive stuck areas with small amounts of oil, such as coconut oil, olive oil, or baby oil. This will loosen the adhesive.
Tip: To prevent the adhesive from sticking to your hands, apply grease to your hands before removing the PopSocket.
Conclusion
In order to remove PopSockets without damage, A few proper tools that you have laying around the house can help you quickly remove a PopSocket without damaging the adhesive bond.
Dental floss, a hair dryer, duct tape, alcohol, baking soda, nail polish remover and an ID/business card may be used to carefully pull the pop socket away from the device.
You may want to remove them to transfer them over to another device or if they’re damaged, in this case you’ll want to see our full guide on how to reuse a Popsocket properly.


